How to connect the API. Instruction manual
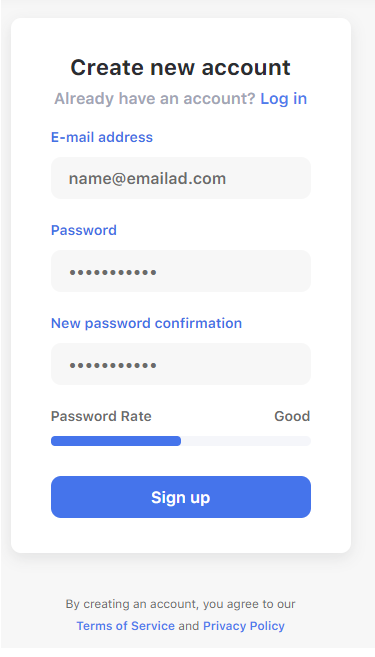
Step №1: Registration
page and add information about yourself. Then you need to click on the “Sign up” button.
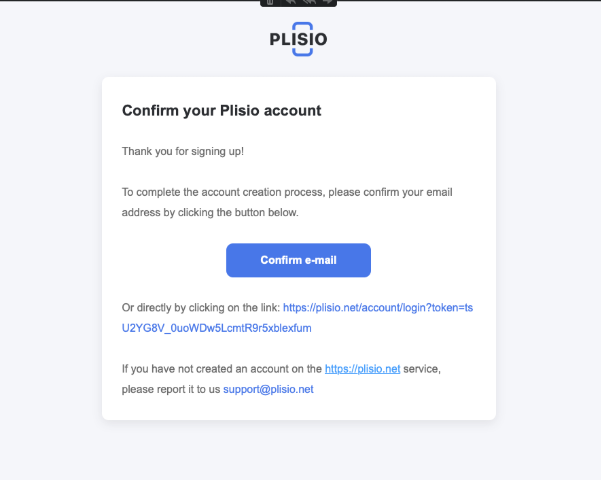
After that, you’ll need to confirm your e-mail.
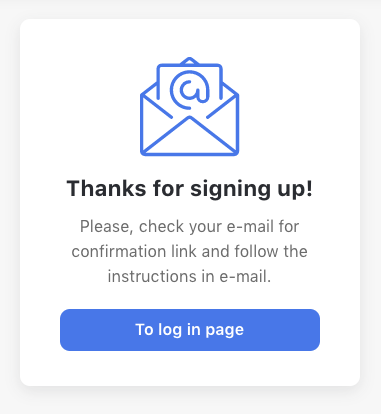
We’ll send a letter with a link to your e-mail. After clicking on the link, you'll be able to access your account profile.
Step №2: API section
Congratulations! Now you have an account. Your next step is to press the "Connect my business" button in the pop-up. It will bring you to the API section.

In the API section you’ll have to enter your site URL first. Enter it in the designated field using the “http” or “https” protocol and click on the “Save changes” button.
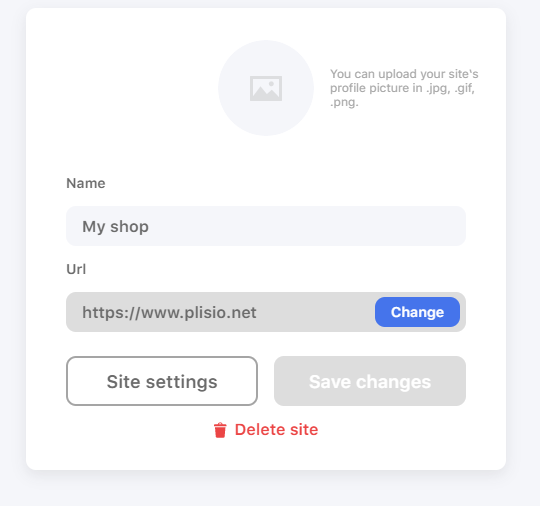
Then click "Site Settings" to go to the further settings section.
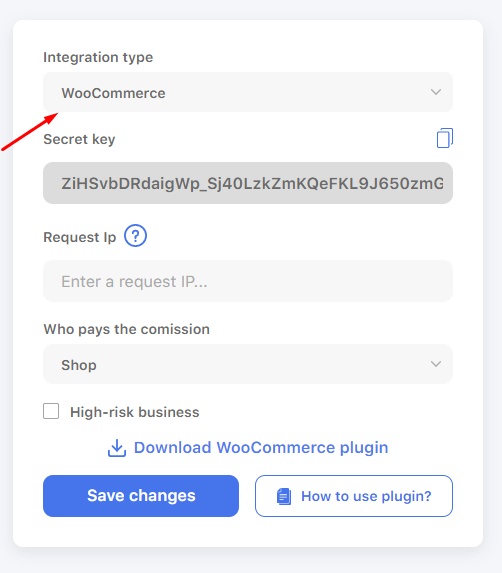
Step №4: Secret Key
There you’ll be able to choose the integration plugin you need and get the necessary Secret Key that you’ll need for plugin activation. Even though you are recommended to save it, you still can get a new one if you’ve lost it.
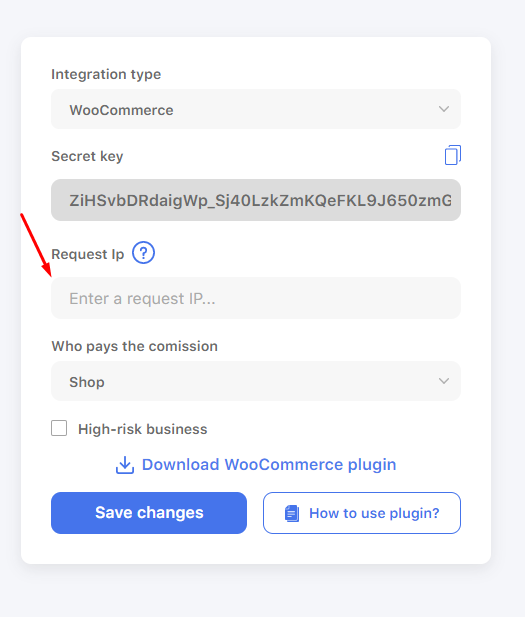
Step №5: Request IP
You can enter your site IP in the “Request IP” field. Plisio API will be available for this address only. This step isn’t necessary, but we still suggest that you take it for your own safety.
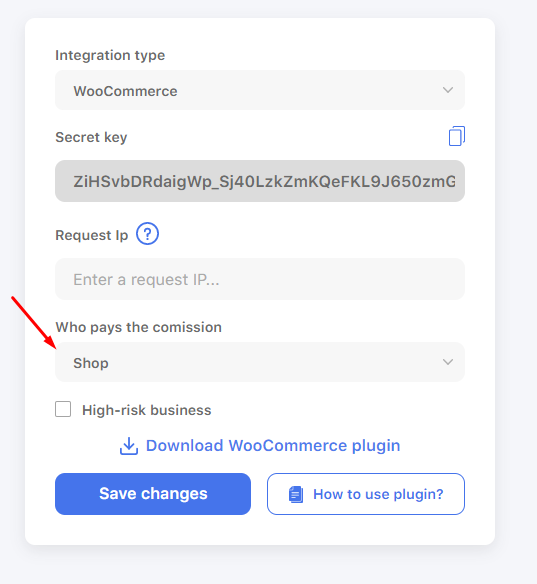
Step №6: Who pays fees?
The final step is for you to decide who’s going to pay transaction fees - you or your customer.
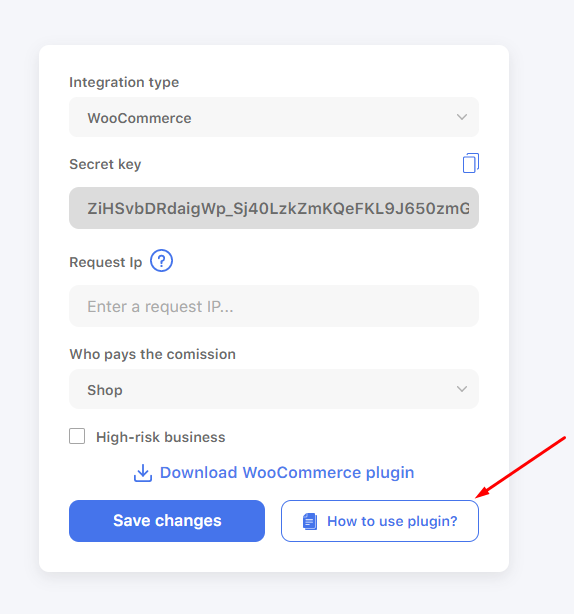
Step №7: Plugin
Once all changes are saved, you’re going to need to download the plugin and set it up. If you have no clue how to do it, just go to the “How to use the plugin?” page and follow the instruction. You’ve got this!
If you have any questions or troubles, the Plisio support team will be happy to help you. Just contact us!