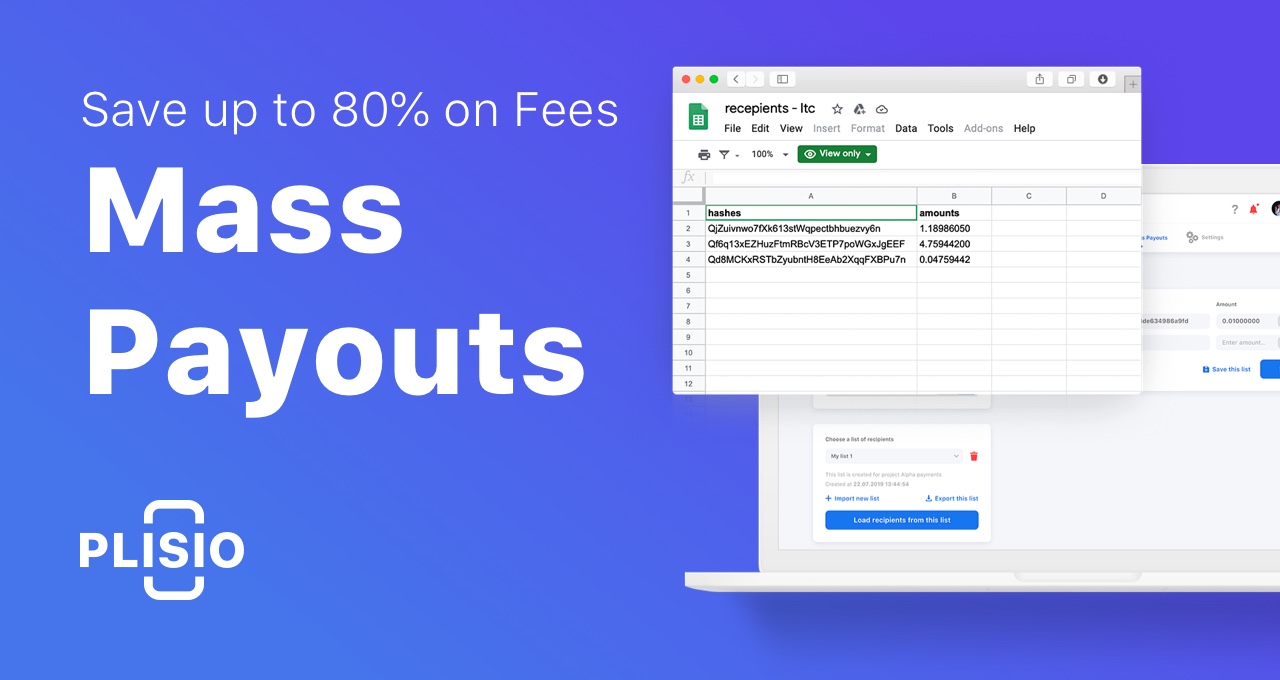
Mass Payouts. Save up to 80% on Fees. Step-by-step guide

What are Mass Payouts
Mass Payouts is a feature allowing you to pool together up to 1000 transactions. This process is automated and saves you up to 80% on fees and time that you can spend on something important.
Using this feature doesn’t require any additional subscriptions. You won’t need any special knowledge for setup and it’s not going to take much of your time.
What you need mass payouts for
Depending on your business type, you can use mass payouts differently. For example, you can automate the following:
- Handling payrolls to your employees
- Paying for regular intermediaries’ services
- Automatic payouts to customers
- Periodic payments to service providers
- Automatic recharge of personal and business accounts
- And any services your business require
Conducting business online leads to new financial commitments. Mass payouts can help you save up to 80% on fees and save more of your time.
Reduce 80% of costs on fees
Thanks to mass payouts, you will save not only your time, but also reduce much of your costs. Pooling up to 1000 transactions together, you reduce the fee amount by 80%.
Flexible API setup
You can set up mass payouts through our API. It will allow you to automate all processes and make them as flexible and unintrusive as possible.
To make such a setup, you will need your technical specialist assistance. You can learn more about the mass payout setup through an API here - https://plisio.net/documentation/endpoints/withdrawal-mass-withdrawal
Payout setup through Dashboard
You can customise and send a payout to many recipients (from between 2 and 1000) in a matter of a few clicks. First, you need to access the Mass Payouts section in your account profile.

Once you’re in the section, you will need to select a cryptocurrency you want to pay with. You can do so in the left menu bar.

Then you will have to enter a recipient’s address and payout amount. To add a recipient, you need to click on “Add a new recipient” in the right block bottom.
How to import a recipient list?
Do you have a lot of recipients? Then you can simply upload the list from the Excel table!
To do so, you need to click on this button.

For the file to upload successfully, it should be a .xlsx file; information about recipients should be presented like this:
To save this list for further transactions, you need to click on “Save the list”.

You will be offered to name your list and give it a description. Once it is saved, it will appear in the left lower block. You can always edit or delete it from here.

When you’re finished with filling in the fields or importing your recipient list, you will need to choose the fee amount and enter your PIN code. Then you’ll be able to press “Send funds” and initiate the mass payout process!

Congratulations! You’ve made a mass payout and saved you a lot of time and money on fees!
We continue to develop Plisio and please you with new, convenient and profitable features for your business.
Stay tuned!
