How to Start Accepting Crypto-Payments
You have finally decided to accept crypto-payments in your online store? We’ve got great news for you - you’ve made the right decision! Cryptocurrency really can save you in rough times and attract more new customers. If you want to know about how you can grow your business with crypto in the times of crisis, read about it in our article.
What is an API?
API is simply an application programming interface. Although it’s fully automated, you still need to find the right way to communicate with it. Plisio has a wide API plugin range for any needs: Opencart, WHMCS, VirtueMart or WooCommerce. We’ve also made an easy step-to-step guide for you so you could easily understand what’s what. Connecting an API has never been easier!
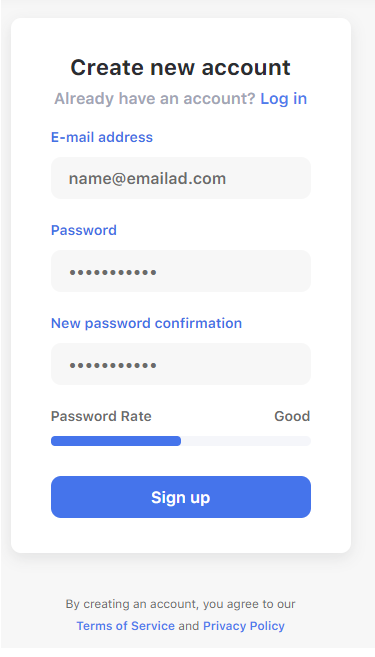
Step № 1: Registration
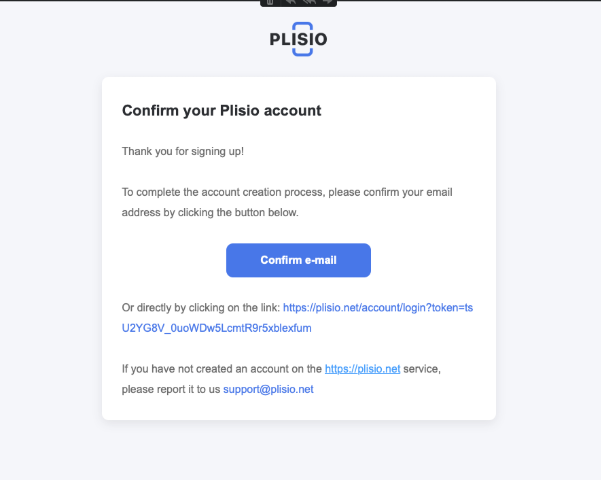
Go to the registration page and add information about yourself by filling all the fields. Then you just click on the “Sign Up” button. Once you’re registered, you’ll need to confirm your email address. Just click on the link below and you’ll be able to access your account profile.

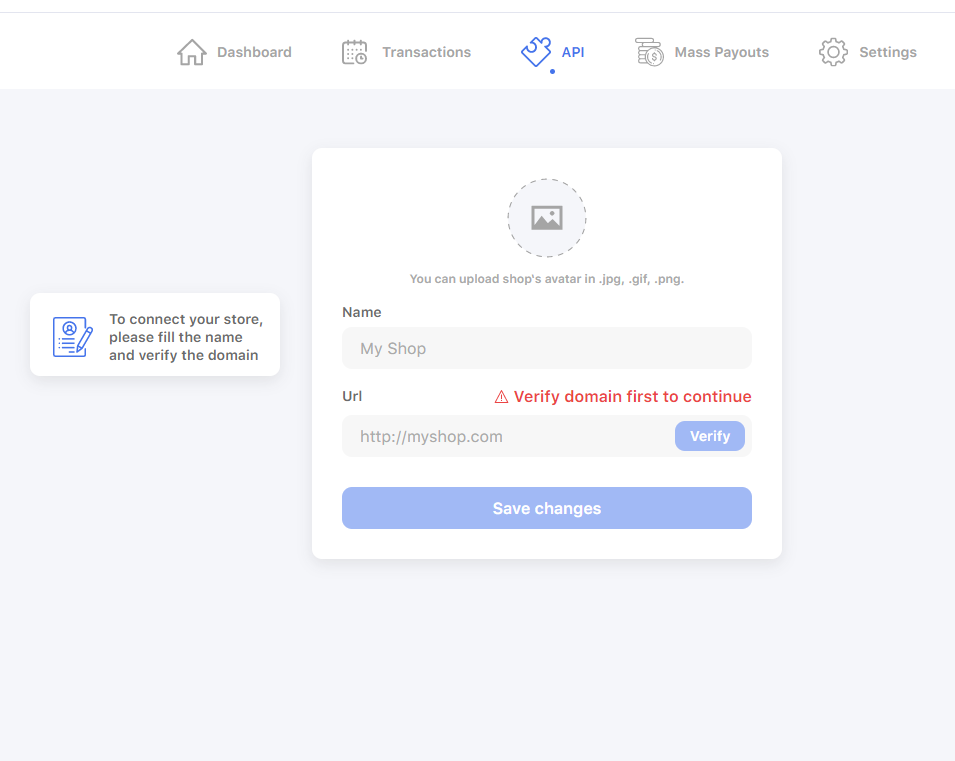
Step № 2: API section and store URL verification
Congratulations! Now you have your own account on Plisio. The next step is to connect your business – you can do so by clicking on the “Connect my business” button in the pop-up. It will redirect you to the API section where you’ll have to verify your store URL. Just enter your store address in the indicated field and click on the “Verify”.

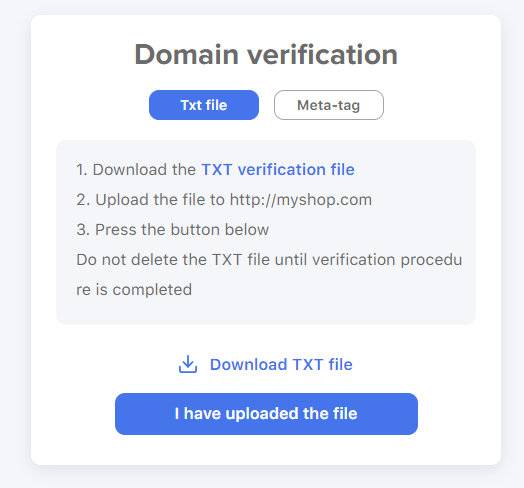
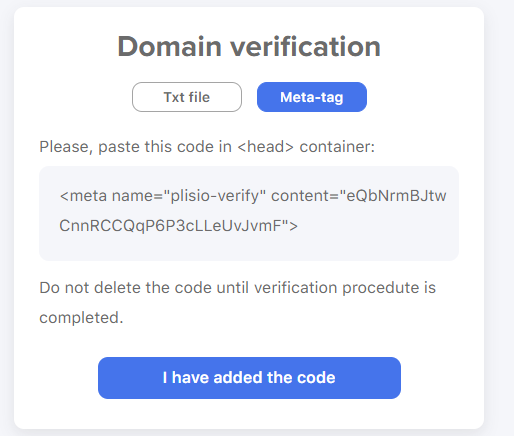
Then you’ll be redirected to the page with different verification options.
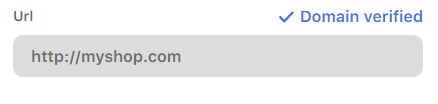
Once you’re done, we’ll proceed with verification. If everything is in order, you’ll see a check mark in the URL box. As simple as that!
Step № 3: Secret Key
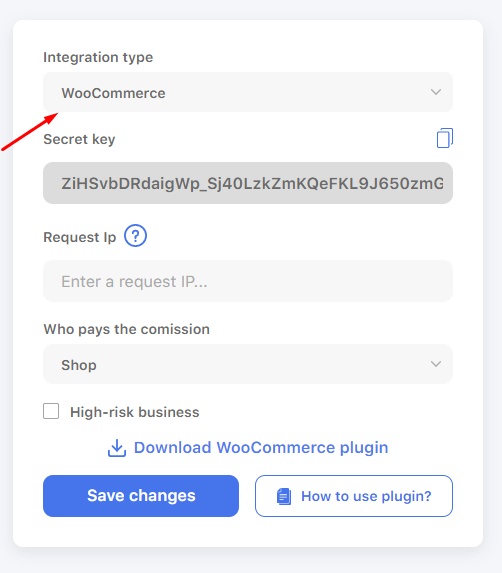
As soon as you’ve saved changes, you will be redirected to the page with integration plugins with provided Secret Key. Remember, you can always restore it if you lost it.
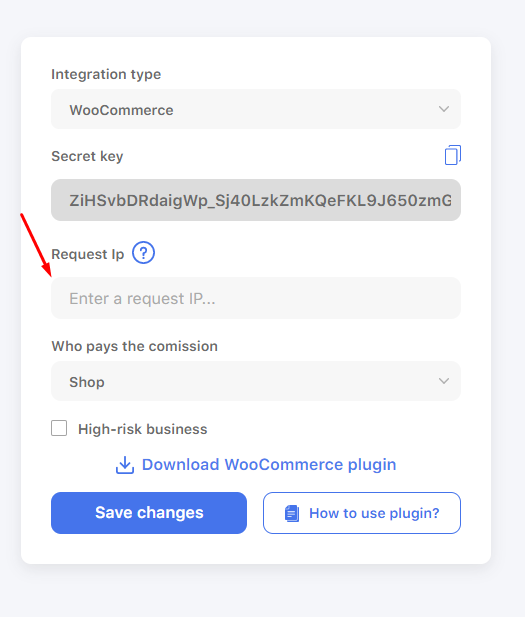
Step № 4: IP request (optional)
This step is about you providing Plisio with your store IP address. You can skip this step but we suggest you take it as a precautionary measure.
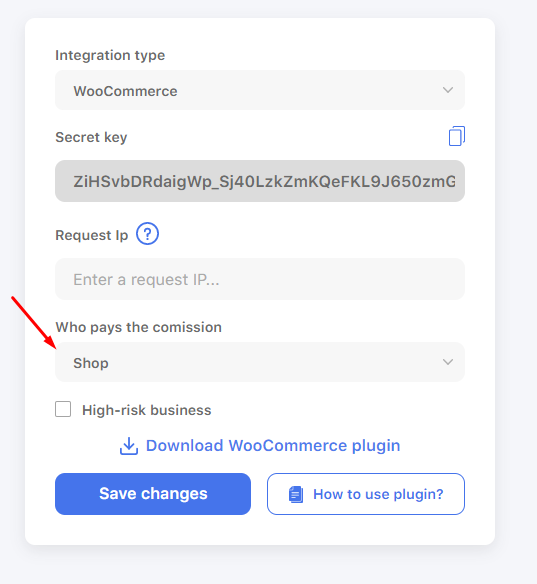
Step № 5: Division of responsibilities
The next step is to decide who’s going to pay transaction fees – you out your customers. As you already know, our fee is one of the lowest. Today it is very hard to find money saving solutions in the crisis and accepting cryptocurrency on your website is the best you can do for your budget.
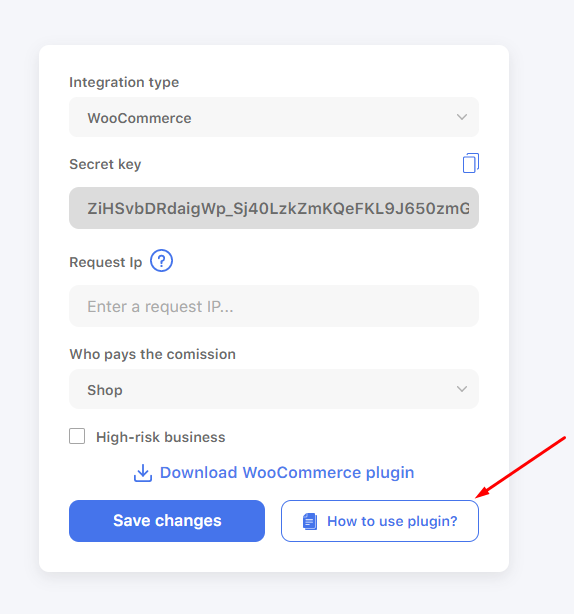
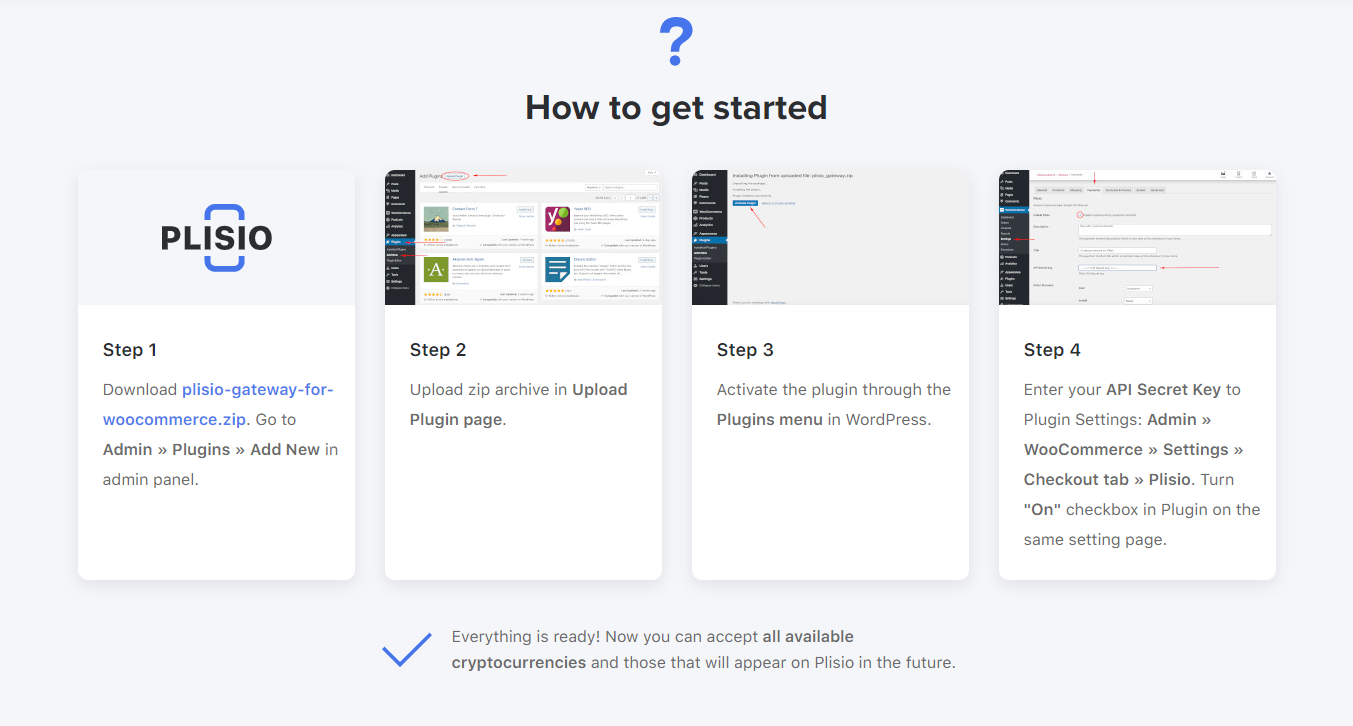
Step № 6: Plugin
You’ve made it! This is the final step. Everything you have to do is apply changes and download the plugin. If you have no idea how to use it, just go to the “How to usу the plugin” page and follow the guide.
See? Connecting an API is quite an easy task and you don’t even require any special skills. There is only one requirement – a little patience.
We have a F.A.Q. that can answer almost all of your questions and a Live Chat where you can contact the support team at any time. If there are any difficulties or you still have questions left - do not hesitate and get in touch with us. We are always glad to help!
If you still haven’t decided whether to integrate crypto-payments to your store or not, read our material about the 9 main reasons why you should do it.
